by Ben Brewster
Coaches and athletes alike know that following an injury, detraining (and soon after, atrophy) is imminent. This is unacceptable if you want to throw harder, however most of us accept this as inevitable, using the injury as an excuse to back off of all heavy lifting and spending precious weeks (or months) training to regain lost strength and size.
But what if you’re a competitive athlete and don’t have the luxury of time on your side? Or worse yet, what if you have a chronic injury that won’t just disappear with several weeks – or months of rest and rehab.
What if you could build lower body strength and power every bit as impressive as you want and train to throw harder, without high shear or compressive spinal loading?
I’m not here to bash squatting and deadlifting, as they should stay the cornerstone of any healthy athlete’s regimen provided they can be performed with proper form. Still, most of us can think of some time in our athletic careers when our low backs didn’t feel quite right, and we could have used a pain free substitute.
I’m not just talking about shifting from squats to lunges. I’ve been at the point where 40 pound lunges or even bodyweight Romanian deadlifts presented with lower back pain, but I was still able to use the belt squat to obliterate my lower body and go through the same fundamental movement patterns, 100% pain free.
—
How Belt Squats Work
The premise is simple.
By hanging the weight from the pelvis (rather than placing it on the shoulders), the compressive loading bypasses the spine.
Even for fully functional, healthy athletes, belt squats still represent a good option for occasional deloading from heavy spinal loading periodically throughout the year or during particularly high-stress mesocycles (such as in-season for athletes).
—
No Belt Squat Machine? No Problem.
I’m going to assume, like 99% of the population, you don’t have access to a $3,000 belt squat machine.
If you do, great.
If not, here is the ONLY set-up I’ve found that is comfortable and safe enough to load up to any appreciable degree.
—
Set-Up Tips:
- Use a loading pin to stack weight plates on. a 12″ pin is good for about 300 pounds of plates, while a 15″ pin will cap out around 405 to 450 pounds. You can get them here.
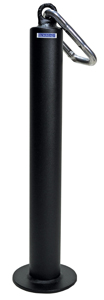
15″ IronMind Loading Pin
—
Alternatively, you can create your own bizarre homemade contraption that will likely get you kicked out of your local Planet Fitness
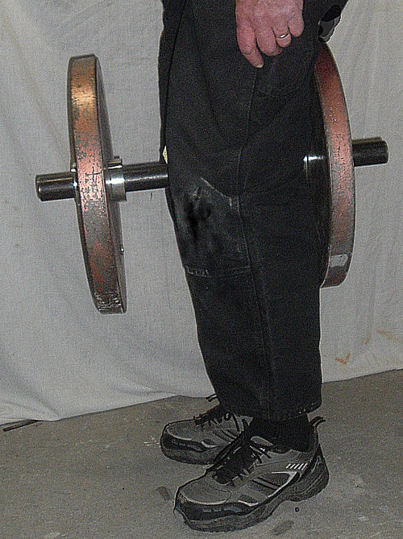
45 pound plates may require too wide of a stance to be comfortable for shorter athletes, in which case you may need to use 35lb plates.
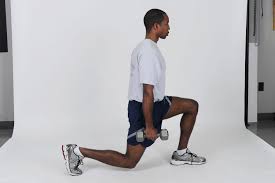
You’ll want a Spud Inc Belt Squat Belt or a Super Squats Hip Belt. Both of these are extremely comfortable even with heavy weights. While the Super Squats hip belt is quite a bit over-priced, it can also be used for the belt lunges (shown below), unlike the spud belt.
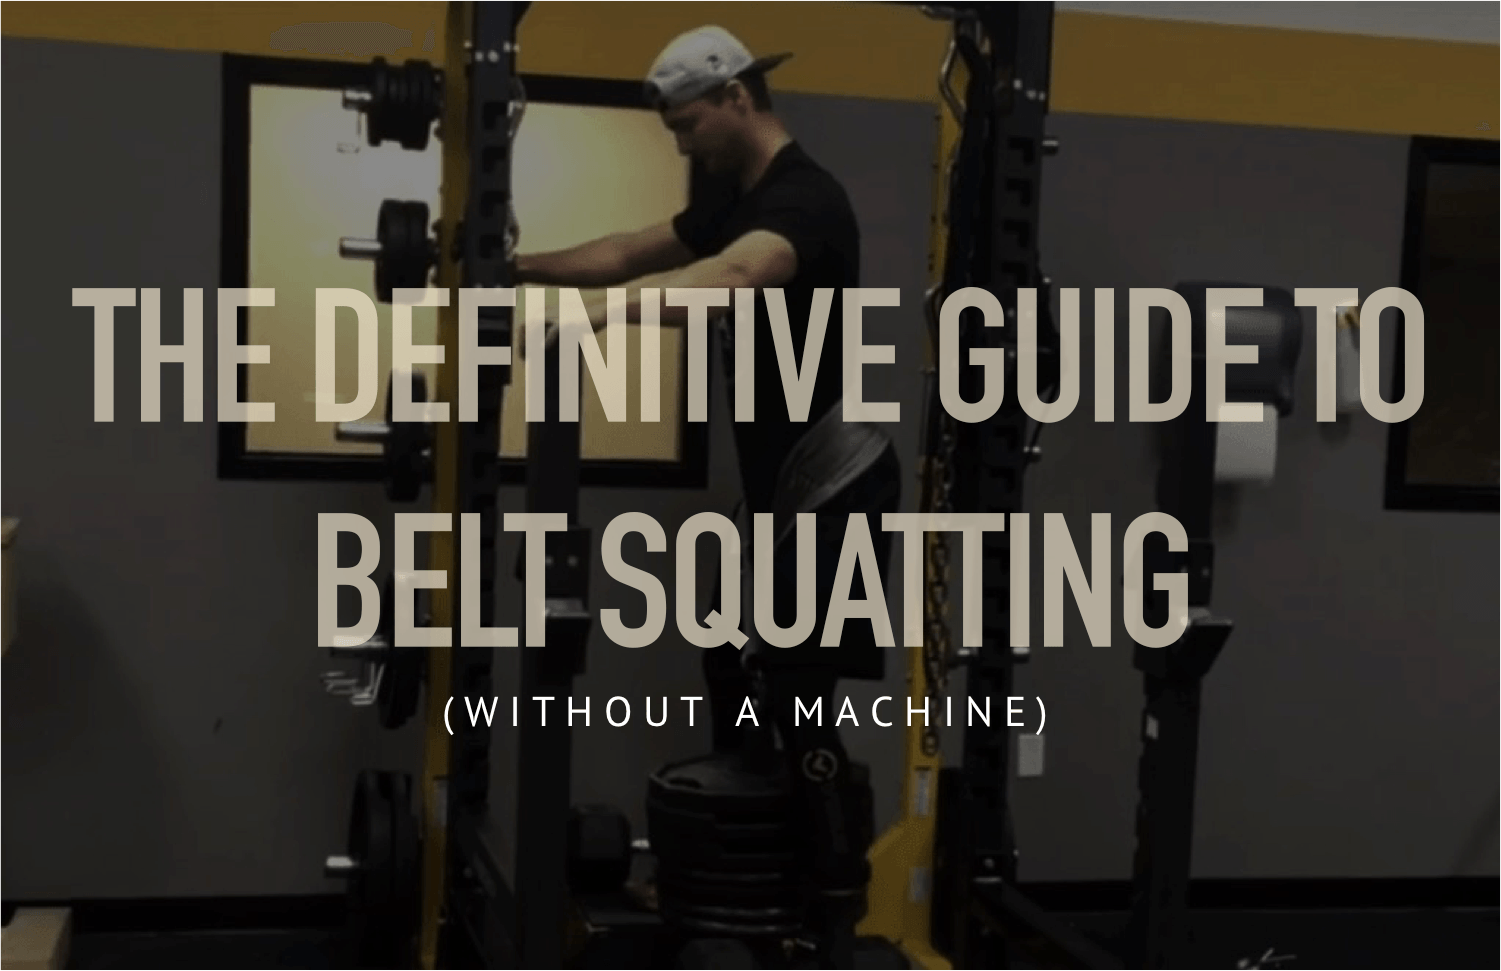
Set-up in front of a squat rack. You can either hold onto the squat rack directly for balance, or set up a barbell in the squat rack to use as a handle bar for a counter balance during the squat. This allows you to sit back into the squat quite a bit more, which allows for a more vertical shin angle and takes pressure off of the knees. Alternatively, you can try doing the exercise without a squat rack (below) and severely limit the loading and stability that makes our version such a money squat substitute.
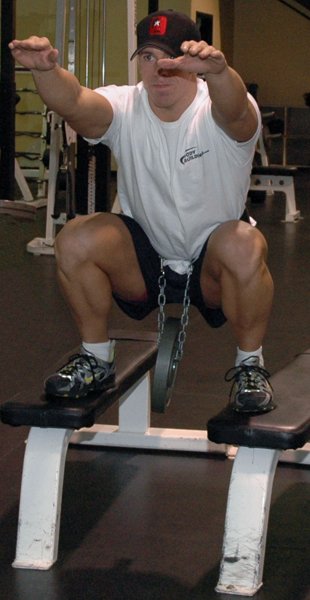
No spinal loading, but also no lower body loading either.
—
Use stable boxes to stand on and place a couple heavy dumbbells against the boxes to prevent any outward slipping during the set.
For safety purposes, you’ll want to try to adjust the depth so that the bottom of the squat leaves the weight just at or above ground level. This way, if you were to fail a rep, you can just lower the weight the extra half-inch to the ground.
Belt Squatting Solo (5+ rep sets)
If you don’t have a spotter, you’ll need to begin the exercise by lifting the weight out of the bottom on your own. Don’t panic. Just adjust the belt low on your hips, step up onto the boxes one foot at a time and make sure to push your hips back to get the weight up for the first rep. The only limitation to this setup is that you’ll have trouble getting that first rep up on your own going any heavier than a 5 or 6-rep max. When using that type of weight, you’ll need a spotter.
—
Belt Squatting with a Spotter (<5 rep sets)
Start with a 4-8” box under the loaded weight pin, and at the start of each set, lift the weights up and have a spotter pull the box out from under the stack to clear room for the rep. This makes it drastically easier to get the weight up on the first rep. At the end of the set, wait until the spotter slides the box back and carefully lower the weight down.
Execution Tips:
> Sit back deep into the squat, driving your hips back and aiming to keep a more vertical shin-angle (this is more reminiscent of box squat form – you can certainly do more upright versions to mimic front squats if you wish).
> Drive explosively through the heels, aiming to accelerate the weight as fast as possible like you’re trying to jump out of the bottom of the lift (this is extremely important from a power output standpoint).
> Use as little assistance from your arms as possible – the squat rack is to be used to add stability and as a counterbalance, but you should not be actively trying to pull yourself up out of the bottom with your arms.
—
Best Rep Ranges
Just as with squatting, belt squats can be used in a variety of rep ranges based on the performance goal.
Strength: Warm up to 3-4 sets of 4-6 reps using >75% of 1-rep max (favorites: 4×5, 3×6, 6×4, etc)
Hypertrophy: Warm up to 3-5 sets of 8-12 reps using 60-75% of 1-rep max (favorites: 3×12, 4×10, 5×8)
Power: Warm up to 4-8 sets of 2 to 3 reps, using 50-70% of 1-rep max (favorites: 8×2, 6×3, 4×3). If you can add band tension here, that’s preferable as it will encourage acceleration through lockout and also help prevent any swinging of the loading pin after lockout.
Quick tip: One easy way to add more power work into your program is to treat all of your warm-up sets, even on heavy days, as power sets. For example, if you’re working up to 300 lbs for 3×8, you might spend 3-5 sets working up to that weight, and treat these submaximal sets as power sets, aiming to accelerate the weight as quickly as possible, rather than just coasting through these sets.
—
Biggest Low Back Injury Mistakes: No progression/overly conservative
Don’t get me wrong, low back injuries are nothing to play around with. But once a medical professional has cleared an athlete for basic movements like bodyweight lunges and squats, he should be able to begin progressively loading the belt squat as well.
Many coaches don’t understand how to effectively load up the lower body without a barbell, and are overly conservative. I can’t tell you how many times I’ve been told to just do bodyweight squats or to goblet squat with a light dumbbell as though that were a legitimate substitute for strength work. These exercises will not help you throw harder.
This dude has some epic short shorts, but those 5lb dumbbells aren’t doing much for his leg strength or helping him throw harder.
While these may be useful as part of a comprehensive low back rehabilitation plan, belt squats in addition to a gradual reintroduction to spinal loading will allow for a quicker recovery of pre-injury lower body strength levels.
Master this set-up and you’ll reap all the benefits of regular squatting as you simultaneously work towards getting your body back to 100%.

